Featured Posts

New to Trippin’ With StanleyNew to Trippin’ With Stanley Who is Stanley? Well, Stanley is our RV! He takes us all around the U.S. to taste delicious craft beers and meet new friends along the way. We work from the road, Brian is a graphic designer and I am a...

Read more

Austin = hashtag epic, hashtag awesomeAustin = hashtag epic, hashtag awesome As I type this I sit on a beautiful outside patio on S Congress at a coffee bar called Jo's. I am surrounded by Mac Book Pros and I can almost see all the tweets swarming around my head. I am sure...

Read more

Sedona I'm glad I got to knowya!Sedona I'm glad I got to knowya! Here are some pics from our time in Sedona. We stayed with our good friend Brenden and his girlfriend, Britta, in Cottonwood, about 20 minutes from Sedona and Jerome. They were the most excellent...

Read more

Golfing and Hashing in PhoenixGolfing and Hashing in Phoenix We had plans to meet up with our Nu friends Bill and Debbie in Phoenix after we left our troubles in Tucson. Maria was able to convince Debbie that it would be a good idea for all of us to go golfing...

Read more

B-C-YessB-C-Yess In between our stops in Quartzsite we made a detour to Tempe to visit my friend Kevin and enjoy a long weekend of sports. The main reason we wanted to be in the Phoenix area was that the BCS National Championship...

Read more

Find Us on Facebook

Renovations Pt. 2 – Whoop Whoop!

Posted by msdesign21 | Posted in You trippin! | Posted on 02-09-2010

Tags: ,

6

Ok, so many of you have been sitting on the edge of your seats waiting to see the final touches. I appreciate the interest and now you can wait no more. The last time we talked about the renovations I left you with a wonderful white shell of a beast. This post is going to pick up where we left off, adding color and putting Stanley back together again. Last time I mentioned 1 of 2 of the best ideas we had while working on Stanley was hiring a professional painter, well the 2nd was hiring a professional to install our floor and quarter round. That only cost us $250 and it took him 2 days, which means it would have taken us 4 weeks. SOOOO worth it and the guy did GREAT work. At first we thought we would buy wood laminate but after looking and looking at all the cheap crappy looking laminate we found a cool new product called cushion vinyl. Its like that nasty tile pattern your grandma would have installed in her kitchen 30 years ago but this is backed by 1/8″ of foam and comes in a number of different patterns like stone and yes, still tile. We purchased the quarter round already primed from Home Depot (I believe that was trip #43 on our renovations endeavor) and painted it ourselves to save a little time and money for the pro installation.

We also painted the color in Stanley, green in the kitchen, dark grey in the overhead cab bed area and yellow in the restroom. That wasn’t so hard and it was nice to get some color back in Stanley. The reupholstery helped too. I found a shop that makes furniture for RVs and Boats so I had him make us a couch that folds out into a bed for the back room and he made us new seat covers for the dinette with the same fabric. And then we reupholstered the dinette accents and all of the valances for the top of the blinds. Donna, Brian’s mom, helped make the wonderful blinds in our kitchen and after all that we were pretty much done. Sounds a lot simpler now that I retell the story than when we were actually doing it!

And now what you have all been waiting for the final pics…
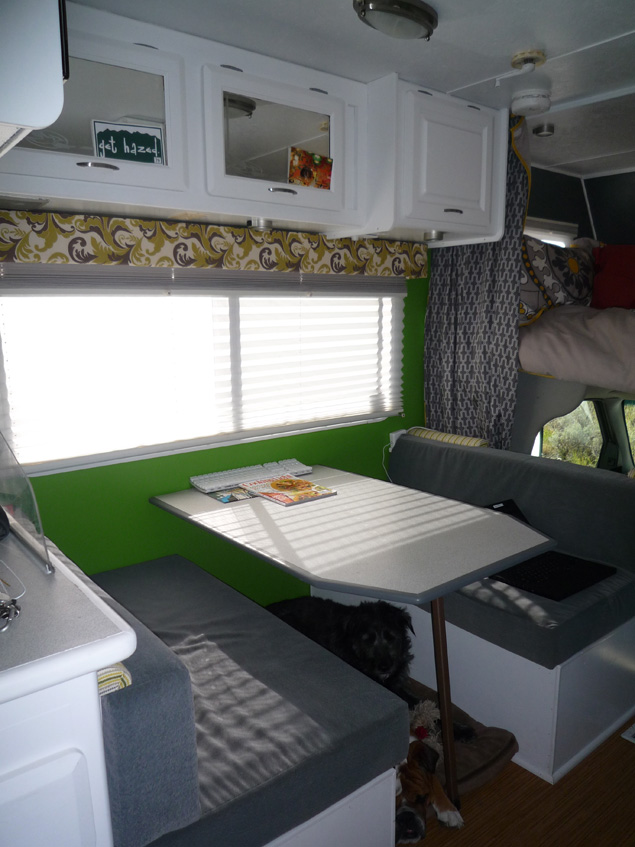
Looking forward

Kitchen Dinette new upholstery and accents, notice the nice white blinds! The kitchen light is also new. Brian spray painted everything that was gold, silver, including the puck lights beneath the cabinets. The dogs like to cuddle below the table.

Another view of the dinette and green wall. You also get a glimpse of the curtains Brian's Mom made us to the left.
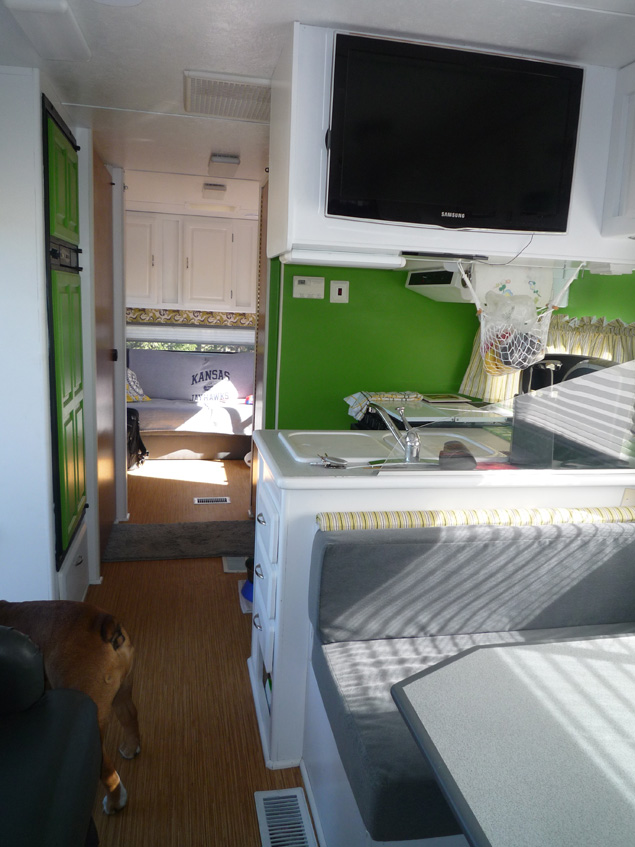
View from the front towards the back. Here you can see the TV that our good friend Dane helped us mount. It is connected to our Wii, a Mac Mini (which is a tiny computer) and 2TB harddrives with tons of movies and TV shows to keep us entertained. I also have Rosetta Stone and have started to learn Italian on the trip. Il bambino mangio means the boy eats. 🙂

Another one looking towards the back room. We painted the fridge green! Brian is working away on the new couch that folds into a bed. If anyone wants to come join us for a few days on our trek, that is where you can sleep!
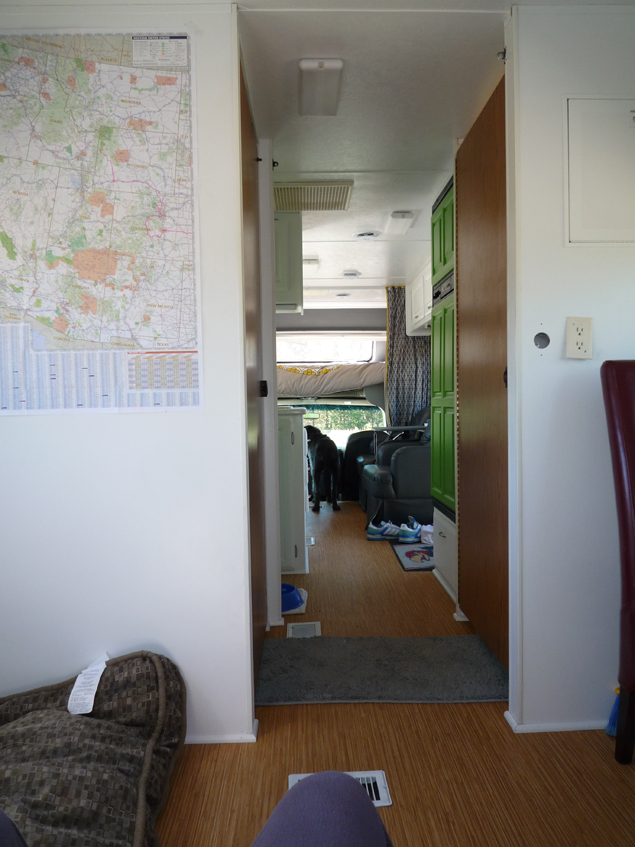
Brian's view from the backroom. You will notice our newest addition is the map! This is also a good view of our new Bamboo flooring and the quarter round.

Our route thus far analog style, in pink.

Newly upholstered valance framing the Tetons.

This is where we sleep. We replaced the foam in the bed and topped it with a memory foam mattress. The duvet cover is from Target. It's soo comfy.

A view of our side chairs next to the dinette. These are pretty much the only things we didn't have to touch for renovations and they are super comfy too!
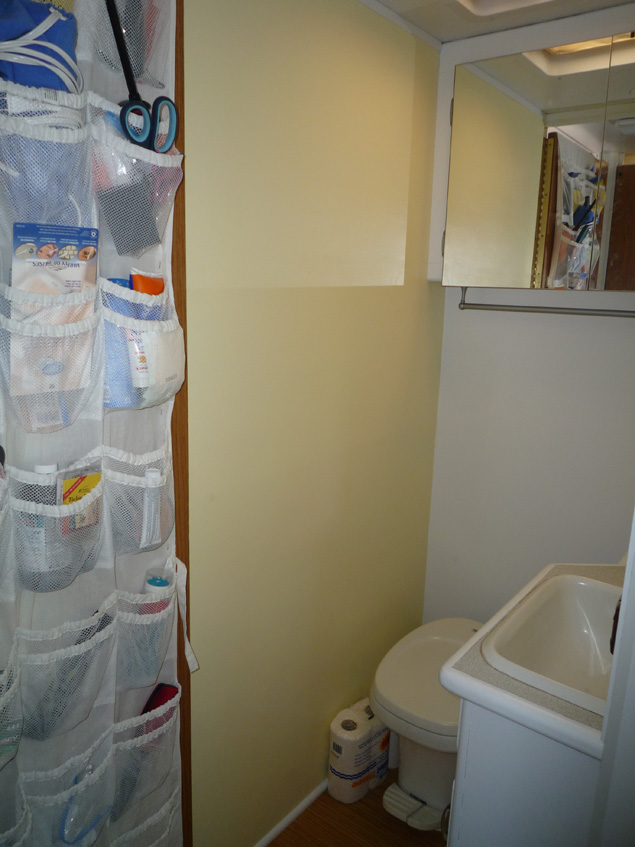
Here is a view of the shitter. 🙂 We hung a shoe organizer on the door as a catch all for all our random stuff like batteries, headlamps, scissors, tape, velcro and the like. Velcro is like my new duct tape, it works for soo much in a RV!

And last but not least the decal on the outside of Stanley comes from WhatIsBlik.com its a Bodhisattva holding lotus flowers and spinning on the 1s and 2s.

Thanks for following!!

Renovations Pt. 1

Posted by msdesign21 | Posted in You trippin! | Posted on 17-08-2010

Tags: , ,

1

Ok, so I am waaay behind on these posts but if you can believe it or not, I’ve been kind of busy lately. I did successfully finish my thesis last week for my masters in Design Management. (I can do another post about that topic if people are interested) And now that we are on the road I have some catching up to do!

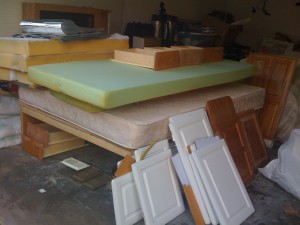
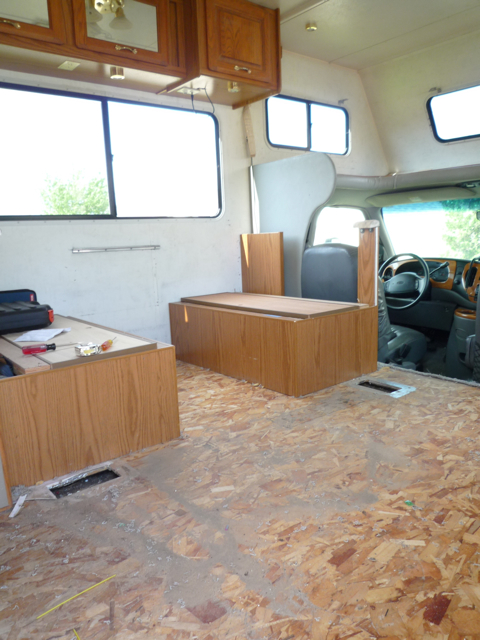
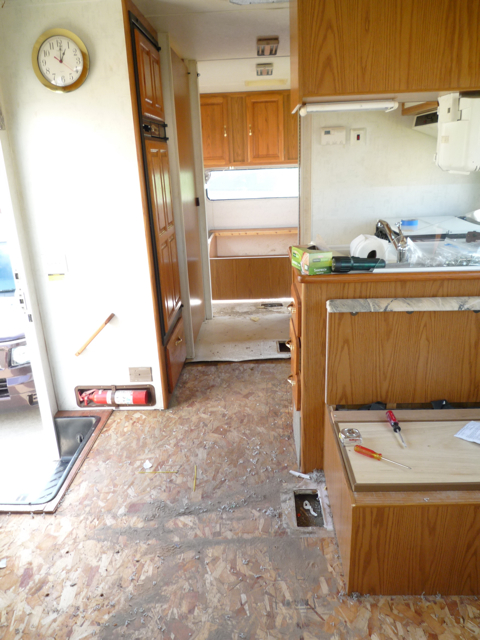
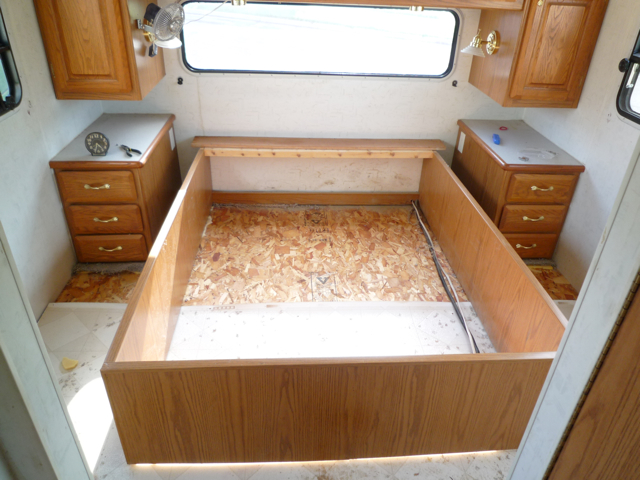
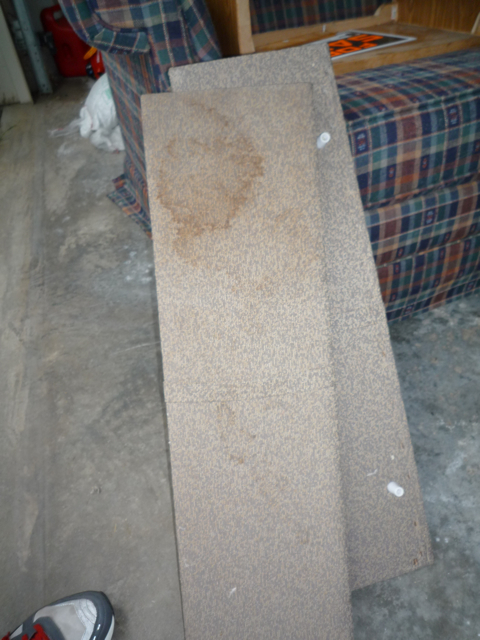
So the last time we talked about Stanley I introduced you to Gare Gare. The steps after the purchase seemed to be endless, so where do we start? The ugly fabric, that’s where! Ripped all that out of there, took down all the blinds and then started to remove all the cabinet doors for painting. Basically the rest of the steps that follow was to take out everything that was yellow/dirty (which was EVERYTHING) and prep it all to paint. Ripped out the carpet, took out the queen size bed in the back, attempted to remove the dinette benches so we could lay the laminate down, but that didn’t work, so they stayed in. The steps went on and on and on. One nice little idea we had, when taking everything out, we put all screens and hardware into individual plastic bags labeled with a sharpie so we knew what each screw went with. Right when you think you are done taking everything out, you realize there are about 20 other things you’ve missed.

The garage was a mess!

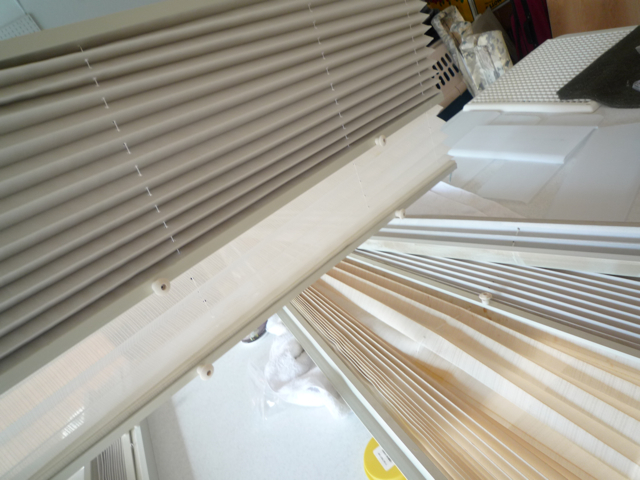
Ok so fast forward about two weeks, everything is out, we’ve begun the soaking process with OxiClean, by the way, the best cleaning solution EVER! It worked on just about anything i could fit into the small baby pool! I had been scouring the RV blogs and found two very helpful posts on soaking the Day/Night blinds in OxiClean and painting the inside of your RV. This forum provided a great tip, purchase PVC pipe with two end caps for soaking the day/night blinds as the longest ones we had were over 68″ and were too long to fit in our baby pool or the bathtub. Once we got the right size PVC pipe, this worked like a charm. I’d recommend at least 4″ pipe, 5″ if you can find it.

Dirty Yellow Blinds

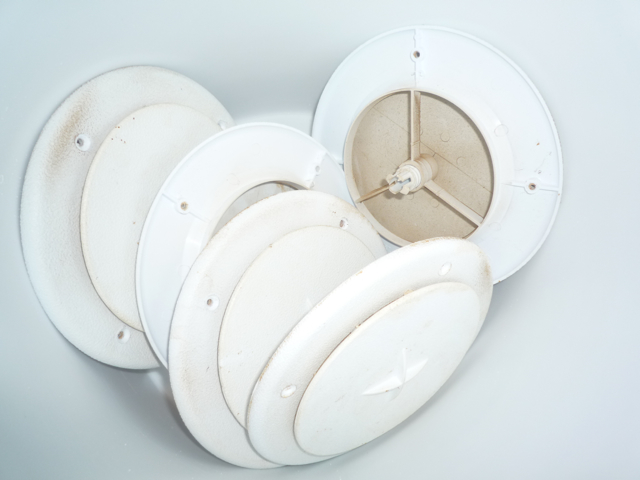
filthy vent covers!

The second RV renovation tip comes via Jim on RVhobby.com for painting the interior of your RV. Turns out RV’s don’t have walls like you would typically find in a home, instead most RV walls use a technique that bonds a vinyl sheet to luan board. What does this mean? Well, it means that priming the walls takes a little more attention and effort that normal.

Scrubbing the walls

Scrubbing away, beer never too far away 😉

The TSP cleaner that Jim recommended really did the trick. Gare Gare must have been a smoker because everything in the RV was yellow, before the TSP and OxiClean got a hold of it anyway. TSP is nice because it doesn’t suds up and it cuts right through all the grime and grease on the walls to ensure the primer sticks. After cleaning the walls it was on to sanding

and masking.

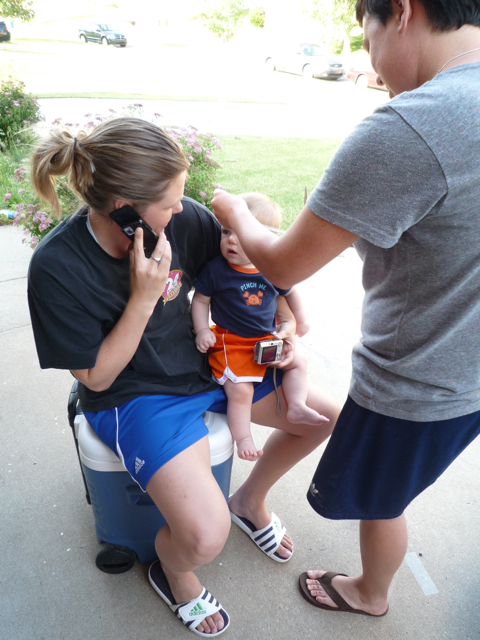
Luckily we have incredible friends and were able to barter beer, baby haircuts and food in trade for help with all our steps. Big thanks to Scott, Ann, Angel and Jen for lending a hand!

Van's first haircut

Trading haircuts for labor 😉


Now everything is cleaned and prepped, so its on to the priming. We ended up going with Kilz Primer. This was the first time Brian and I have ever painted, so as it turns out, we weren’t very good! Luckily, it was just the primer and it didn’t really matter if you could see brush strokes going every which way. This experience did however trigger 1 of the 2 best ideas we had for the entire renovation, we ended up hiring a professional to come in and paint everything white. This was a great decision as the painter used a spray gun and everything was nice and evenly covered. It is always nice to do things on your own, but if you can pay $400 for a professional to come in and get it all done in 2 hours vs. your 2 weeks of time, it becomes VERY worth it.

Masking and painting help with Ann

I think the fumes were starting to get to us... goofy times ensued

maybe it was fumes... and beer!

Primed for paint

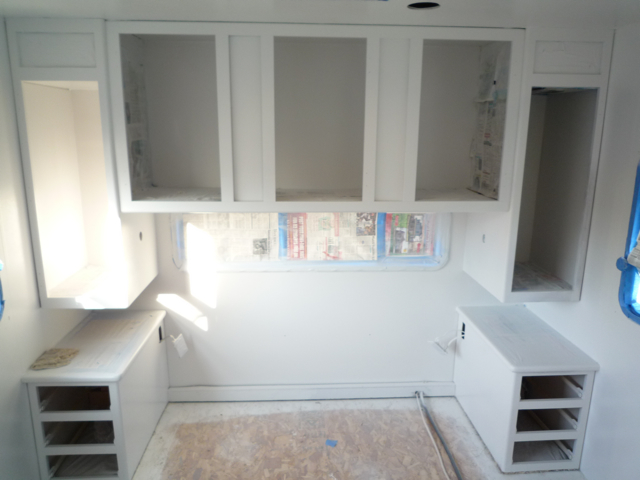
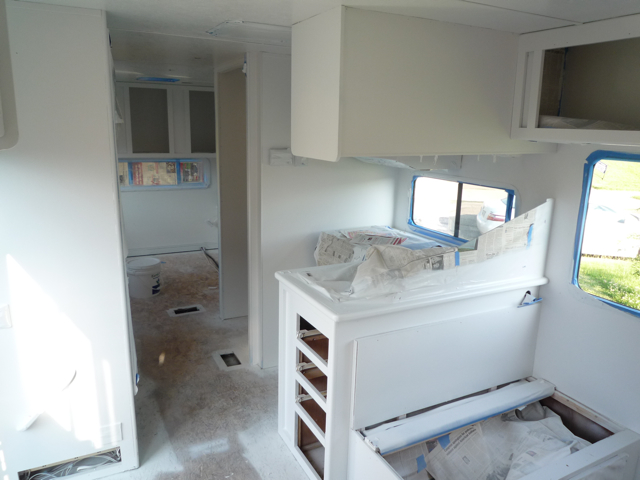
The white paint has been applied

White paint in the back as well

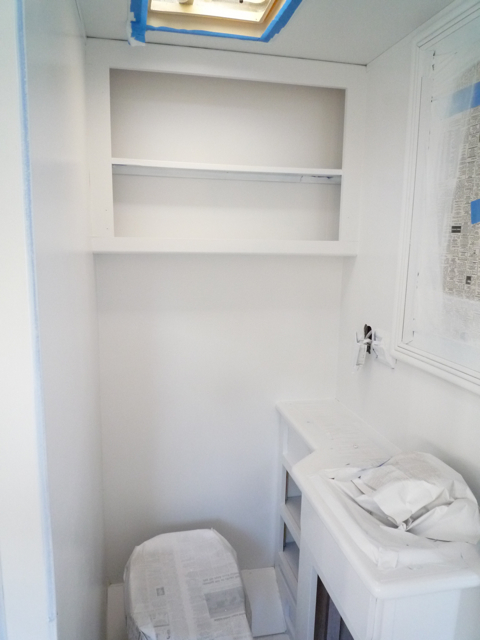
ah, white bathroom...

the white was soo refreshing after all that brown and yellow!

This concludes our post on Renovations Pt. 1. Part 2 will include applying the green and fast foward to the finishing touches. Thanks for following!

Old and Ugly!

Posted by msdesign21 | Posted in You trippin! | Posted on 29-07-2010

Tags: , , ,

0

Some people ask, what made you decide to go on this RV adventure? Well, the story goes like this…

The idea was born the last night KU played basketball in the March Madness tournament, March 19, 2010. I was so disappointed in what was a huge upset by Northern Iowa and that night a friend, Johny Arkin, was watching the game with us. (Check out his cool video blog at nevernorm.com) He was talking about his plans to purchase an RV over the summer and ride around for a few months. Well, I just thought that sounds like the coolest idea ever and so it was, come August when our lease was up, it was time to make the road our new home. Needless to say that was the only thing that could have made me feel better about that night. I redirected my attention from our poor performance to how in the hell do I find, afford, purchase and work a RV?!?!

The story gets a little better from here. I spent the following month researching all kinds of RVs on Craigslist. I learned about the A Class (big ASS motorhomes) B Class are the vans and C Class are the slightly larger ones with a van chassis (van in the front, house in the back) with a bed above the cab. I knew there was no way in hell I could call home and say, I bought a van and we are going to live in it for the next 6 months, and the big ass motorhomes kind of intimidated me, so I figured C Class was the way to go. Well, I looked and I looked, from Craigslist Topeka to Wichita to Omaha all the way to San Francisco. I pretty much scoured every large city west and every small city in the midwest. I got a really good idea of exactly what I wanted. There are many different layouts, some with couches, some with double beds in the back, even some with the toilet in the back with no door!! I also got a good idea of price range and knew I could look past a crappy interior if the mechanics were sound.
FF two more weeks… One day Brian and I were driving to softball practice and I was complaining that I couldn’t find anything in the area for us to just go look at to get a better idea of size. Then we literally came to a detour in the road, had to take a right and there it was, just sitting on the corner in a parking lot with a for sale sign and all. We called on it and it was pretty much go time from there. We had the mechanics all checked out and two-toothed Gary had told us about a known fix for the generator. Gare-Gare as i like to call him bought the 1999 Jayco three years prior for $27,000 and was originally asking for $14,000, which takes me back to the crappy interior comment. It sure was a mess! He was a smoker, everything was yellowed and covered in ugly laminate. We sure got what we asked for, something to flip with sound mechanics. I talked him down to $10,000 and the rest will be in the following posts.
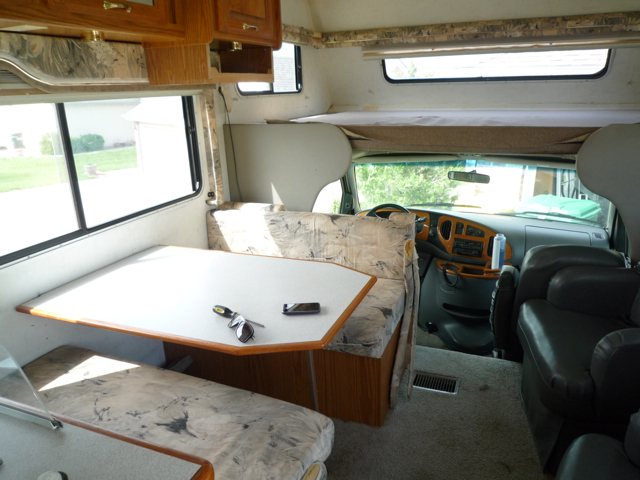
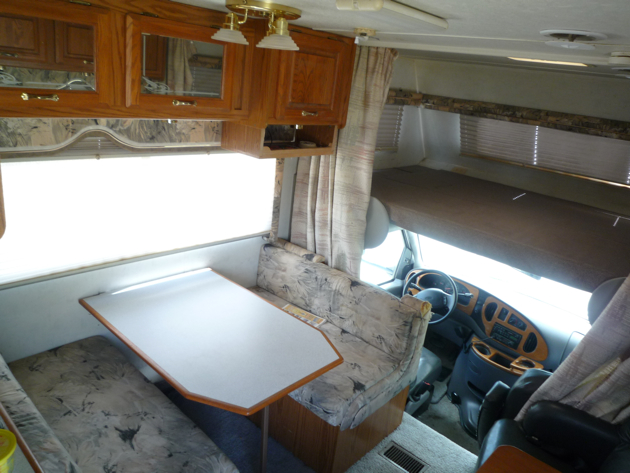
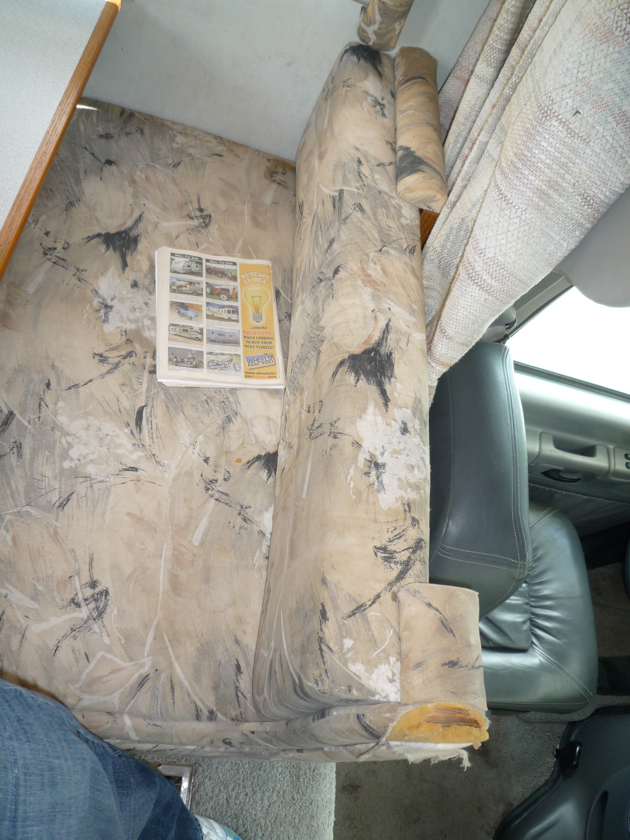
For now, here are some ugly yellow glimpses of what we were dealing with…


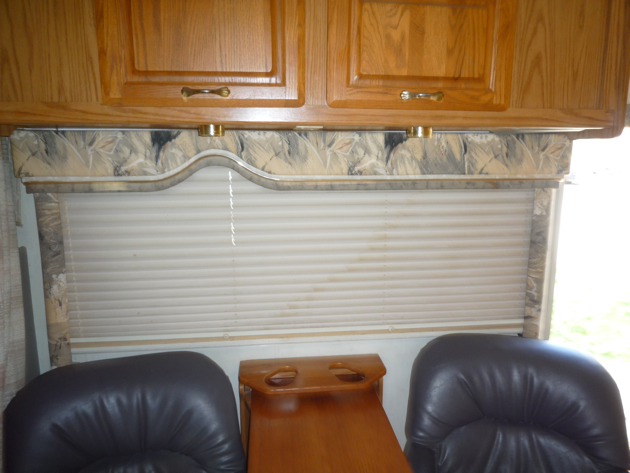
The one nice thing in the RV are those two side chairs. They are super comfy and were surprisingly in good condition.


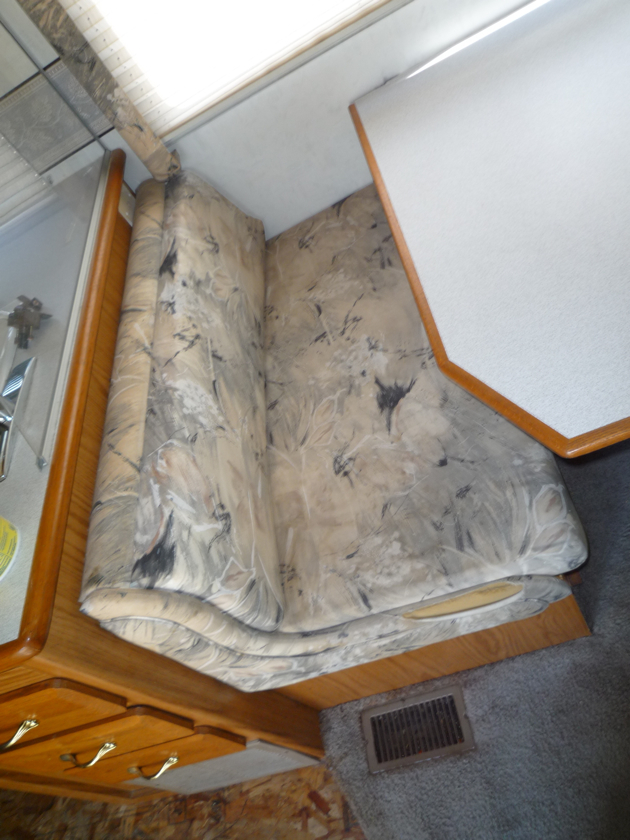
Here is an up-close look at the lovely pattern that was vomited all over the RV. First things first, that has GOT to go!


Dinette on the left…


Dinette on the right…


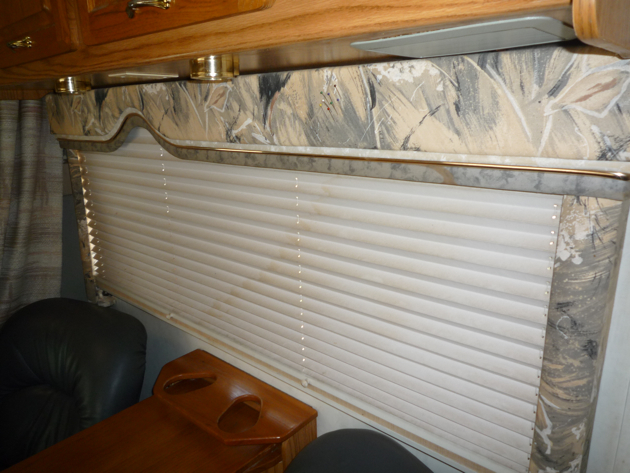
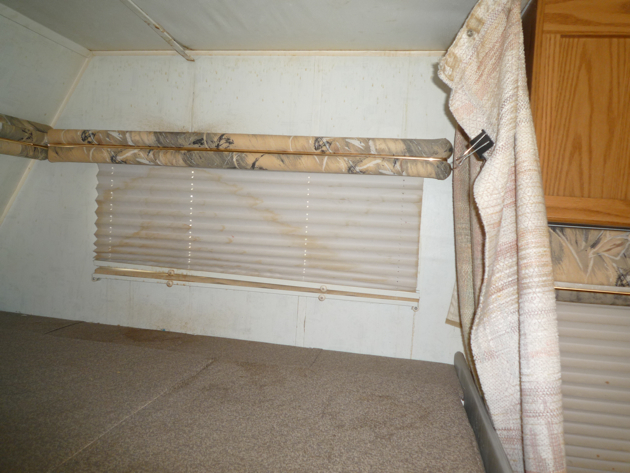
At some point there was a leak on the roof. But before we purchased and after we starting talking to Gare-Gare we had some pretty torrential storms with no new leaks. I think they were able to seal it up a long time ago but since Gare just let it sit for so long it stained the walls and blinds up pretty good.


Here is a little before and after for you on the blinds. I never knew smoking could make something so disgusting. Just think what your lungs must look like! Thank god for OxyClean and the many RV blogs I scoured to find that it cleans ANYTHING!


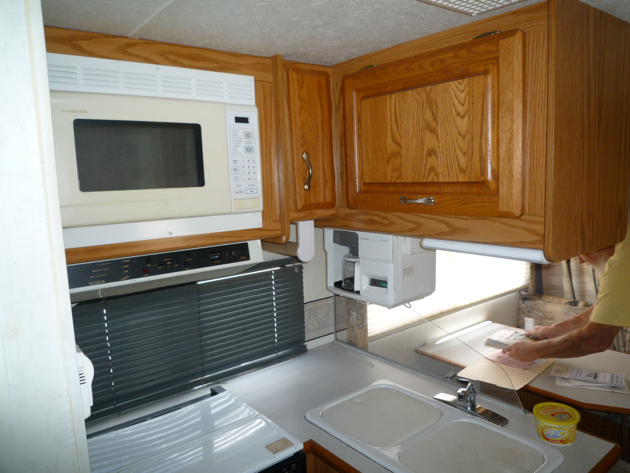
Here is a glimpse of the kitchen, and yes that is Gare-Gare hiding in the back there. Isn’t the laminate just to die for! Yeah, I about died thinking of staring at it for the next 6+ months.


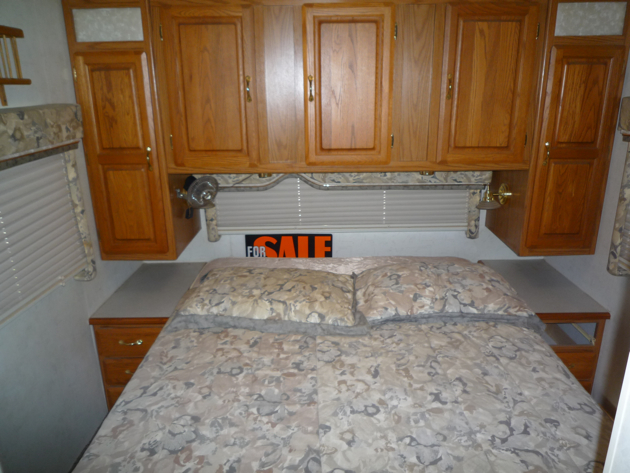
Back in the bedroom, where (I’d like to think with Gare-Gare) NO magic happened.


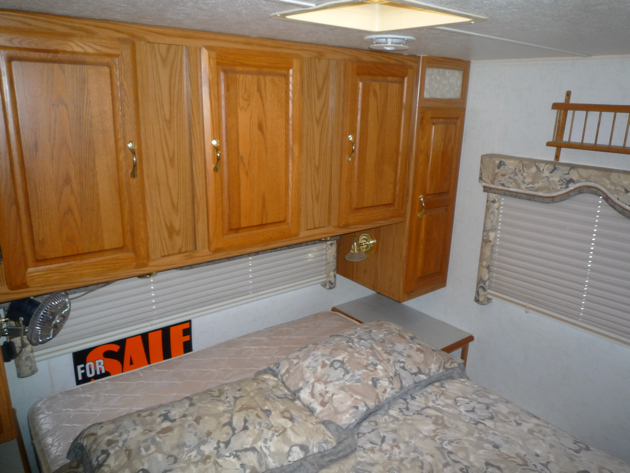
Probably one of my favorite old shots of Stanley. I love the tiny baby jail above the blinds. I mean REALLY?! what the hell is that for and who the heck thought they should put that on a wall. GOT TO GO!


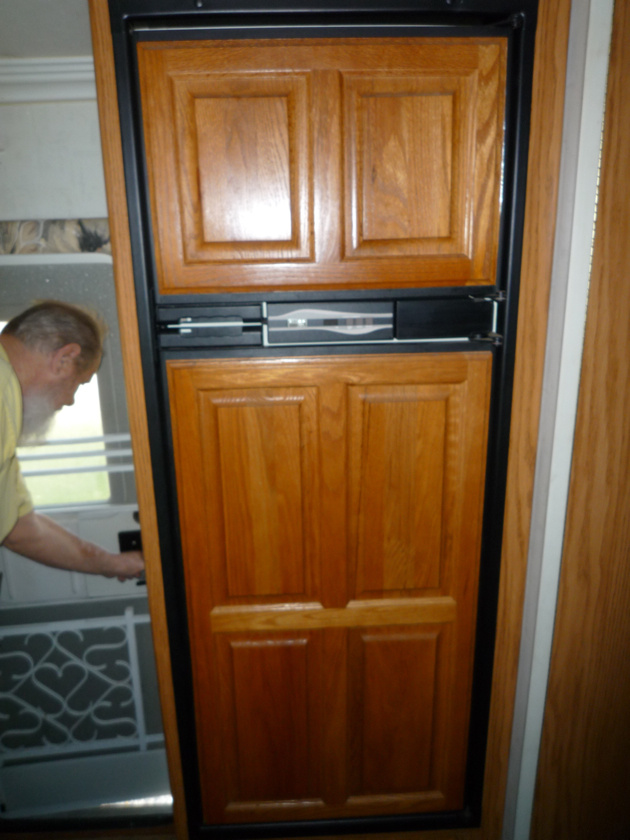
Fridge with an ice maker! And yes, one more shot of the lovely Gary.

Thanks for following!