Ok, so I am waaay behind on these posts but if you can believe it or not, I’ve been kind of busy lately. I did successfully finish my thesis last week for my masters in Design Management. (I can do another post about that topic if people are interested) And now that we are on the road I have some catching up to do!
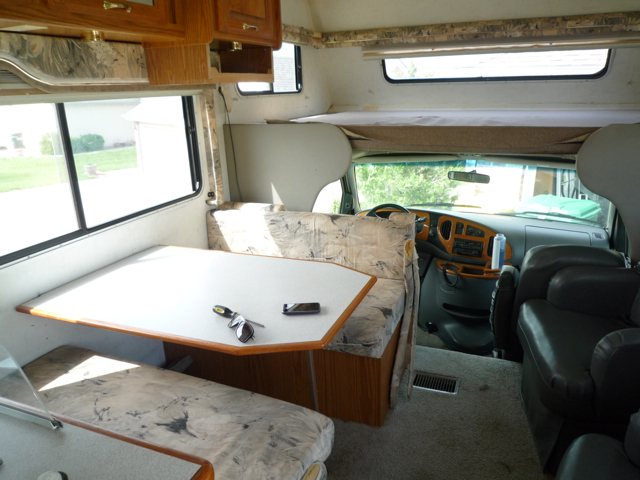
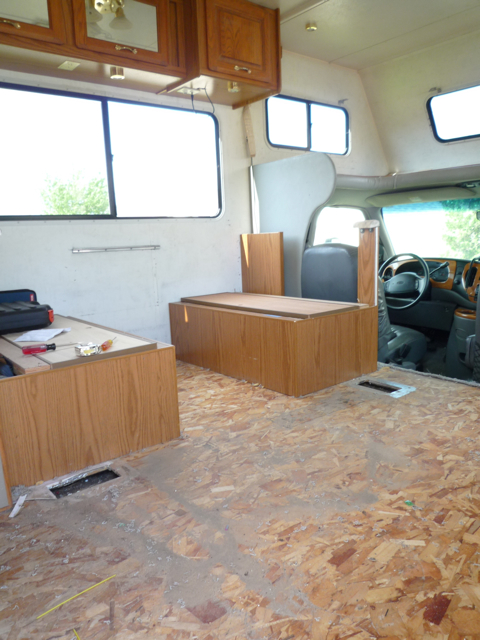
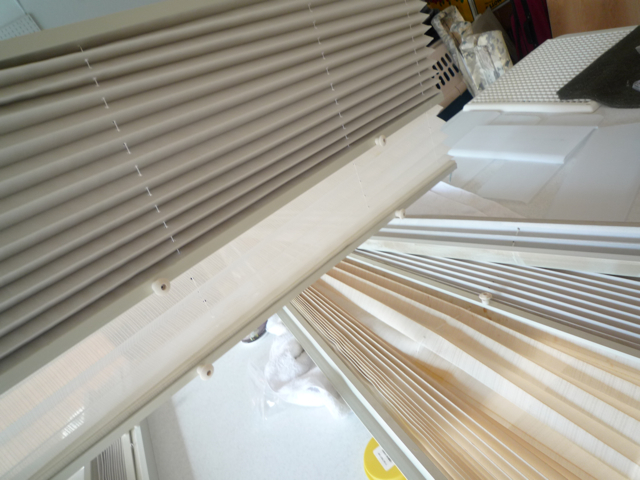
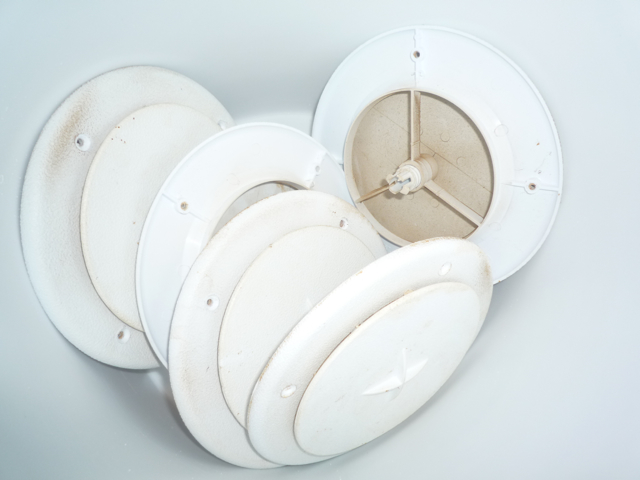
So the last time we talked about Stanley I introduced you to Gare Gare. The steps after the purchase seemed to be endless, so where do we start? The ugly fabric, that’s where! Ripped all that out of there, took down all the blinds and then started to remove all the cabinet doors for painting. Basically the rest of the steps that follow was to take out everything that was yellow/dirty (which was EVERYTHING) and prep it all to paint. Ripped out the carpet, took out the queen size bed in the back, attempted to remove the dinette benches so we could lay the laminate down, but that didn’t work, so they stayed in. The steps went on and on and on. One nice little idea we had, when taking everything out, we put all screens and hardware into individual plastic bags labeled with a sharpie so we knew what each screw went with. Right when you think you are done taking everything out, you realize there are about 20 other things you’ve missed.
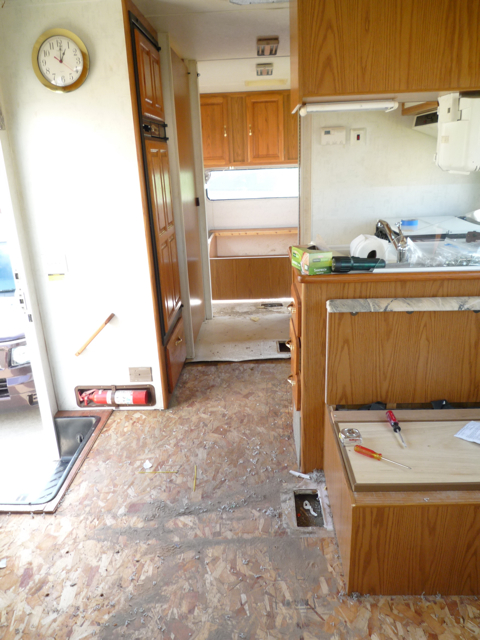
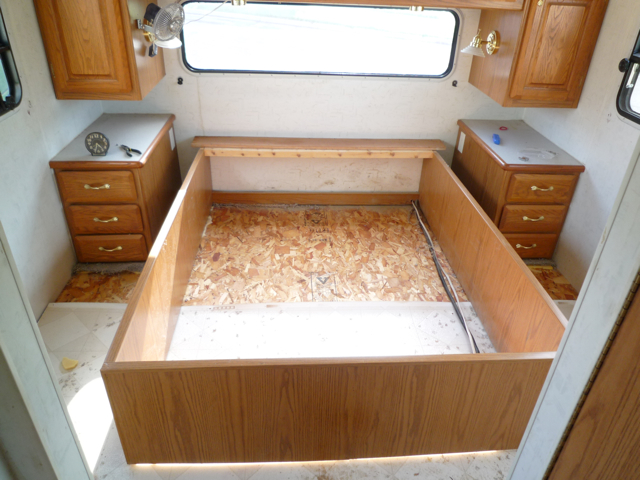
Ok so fast forward about two weeks, everything is out, we’ve begun the soaking process with OxiClean, by the way, the best cleaning solution EVER! It worked on just about anything i could fit into the small baby pool! I had been scouring the RV blogs and found two very helpful posts on soaking the Day/Night blinds in OxiClean and painting the inside of your RV. This forum provided a great tip, purchase PVC pipe with two end caps for soaking the day/night blinds as the longest ones we had were over 68″ and were too long to fit in our baby pool or the bathtub. Once we got the right size PVC pipe, this worked like a charm. I’d recommend at least 4″ pipe, 5″ if you can find it.
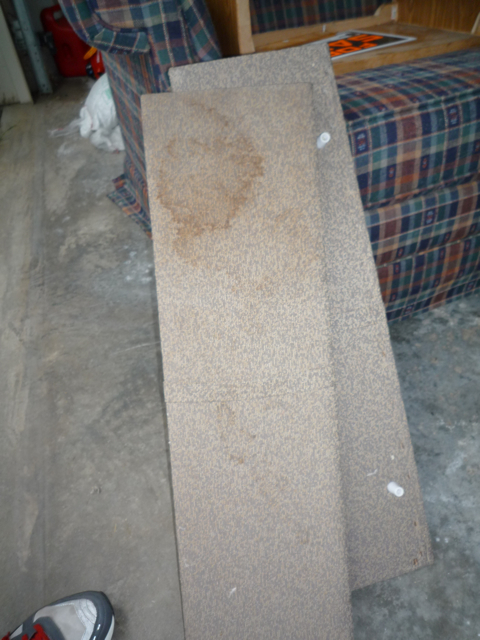

The second RV renovation tip comes via Jim on RVhobby.com for painting the interior of your RV. Turns out RV’s don’t have walls like you would typically find in a home, instead most RV walls use a technique that bonds a vinyl sheet to luan board. What does this mean? Well, it means that priming the walls takes a little more attention and effort that normal.


Scrubbing the walls
Scrubbing away, beer never too far away 😉
The TSP cleaner that Jim recommended really did the trick. Gare Gare must have been a smoker because everything in the RV was yellow, before the TSP and OxiClean got a hold of it anyway. TSP is nice because it doesn’t suds up and it cuts right through all the grime and grease on the walls to ensure the primer sticks. After cleaning the walls it was on to sanding

and masking.

Luckily we have incredible friends and were able to barter beer, baby haircuts and food in trade for help with all our steps. Big thanks to Scott, Ann, Angel and Jen for lending a hand!
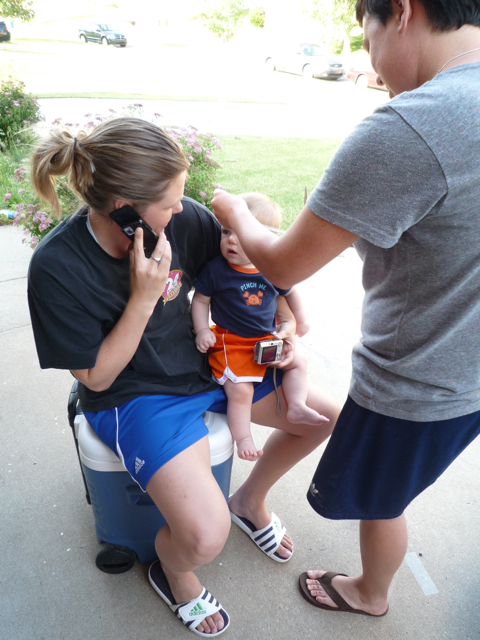
Van's first haircut
Trading haircuts for labor 😉

Now everything is cleaned and prepped, so its on to the priming. We ended up going with Kilz Primer. This was the first time Brian and I have ever painted, so as it turns out, we weren’t very good! Luckily, it was just the primer and it didn’t really matter if you could see brush strokes going every which way. This experience did however trigger 1 of the 2 best ideas we had for the entire renovation, we ended up hiring a professional to come in and paint everything white. This was a great decision as the painter used a spray gun and everything was nice and evenly covered. It is always nice to do things on your own, but if you can pay $400 for a professional to come in and get it all done in 2 hours vs. your 2 weeks of time, it becomes VERY worth it.

Masking and painting help with Ann

I think the fumes were starting to get to us... goofy times ensued

maybe it was fumes... and beer!

Primed for paint

The white paint has been applied
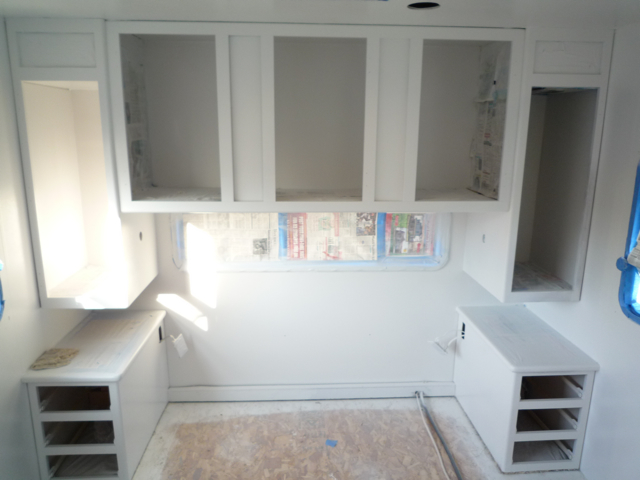
White paint in the back as well
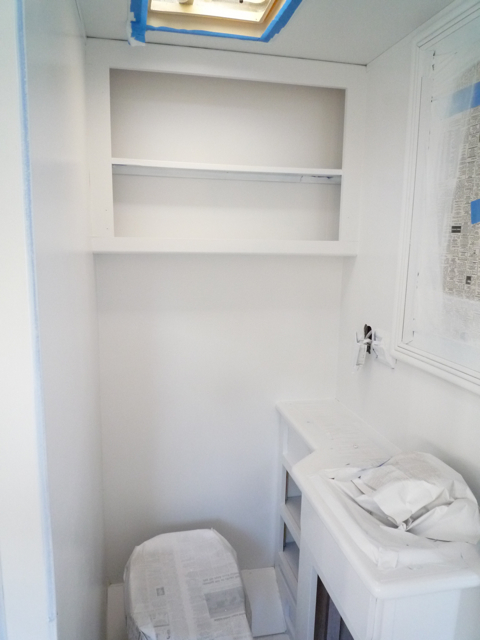
ah, white bathroom...
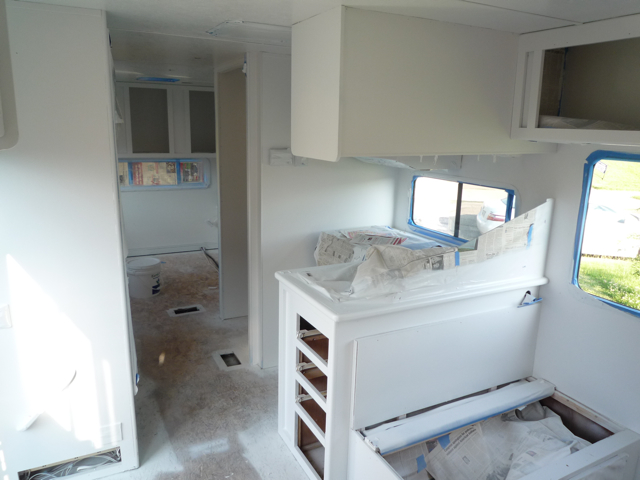
the white was soo refreshing after all that brown and yellow!
This concludes our post on Renovations Pt. 1. Part 2 will include applying the green and fast foward to the finishing touches. Thanks for following!
 Share on Facebook


